Hello everyone....hope all are doing great....
I am extremely happy to share that I will be continuing as design team member of Itsy Bitsy. This post is my first design team post in the new term.
Itsy Bitsy has recently launched Instant Image Transfer Gel. As the name suggest, the recently launched transfer gel is Instant...which means now you do not have to wait for hours together to get the image transferred. The magic of transfer happens in just 5-10 mins. Isn't that great !!!
The instant image transfer gel is great to transfer both coloured and black and white images. It has good consistency and adhering property. I have created Desk Decor pieces - a clipboard desk calendar and a stationary holder to enhance the desk space....a beautiful working space is always a delight !!!!
In my last post on photo/image transfer, (image transfer and photo transfer means the same) I have shared how to do image transfer on various surfaces like wood, metal, glass, fabric. Here's the link to that. This time lets explore various backgrounds. For this it's important to understand the basic concept of image transfer and the difference between image transfer and decoupage.
WHEN IS IMAGE TRANSFER DONE ???
- To create personalized products, eg- products with personal pictures, artwork.
- To create printed look on surfaces, such that there is no thickness of paper popping out.
- To create products, where light needs to pass through image like lamps, votives etc.
DIFFERENCE BETWEEN IMAGE TRANSFER AND DECOUPAGE -
Decoupage is adhering paper on a given surface, using decoupage glue. Once the paper is adhered, you no longer see the background of the surface, where paper is adhered. On the other hand image transfer is adhering paper, face down on a given surface, using image transfer medium. Later layers of paper are removed to see the image. Only the print on the paper gets transferred to the surface and as a result you see the background of the surface as well. To put it up simply, you get a printed look and there is no thickness of paper popping out.
Hence in image transfer the background is very important. Choosing the right background or creating interesting backgrounds for image transfer can help you achieve the printed look and this post focuses exactly on that.
Have step wise picture tutorials of the desk decor pieces, made using the transfer technique and as mentioned above have created backgrounds for the transfer in the creations. Sharing the link here
Some interesting picture of the Clipboard Desk Calendar-
And now there is something more to the desk space !!!! Have made a stationary holder, using the wooden bucket bag from the store. This beautiful piece is a great buddy to the desk calendar.
STEP WISE PICTURE TUTORIAL OF THE BUCKET BAG HOLDER USING IMAGE TRANSFER GEL-
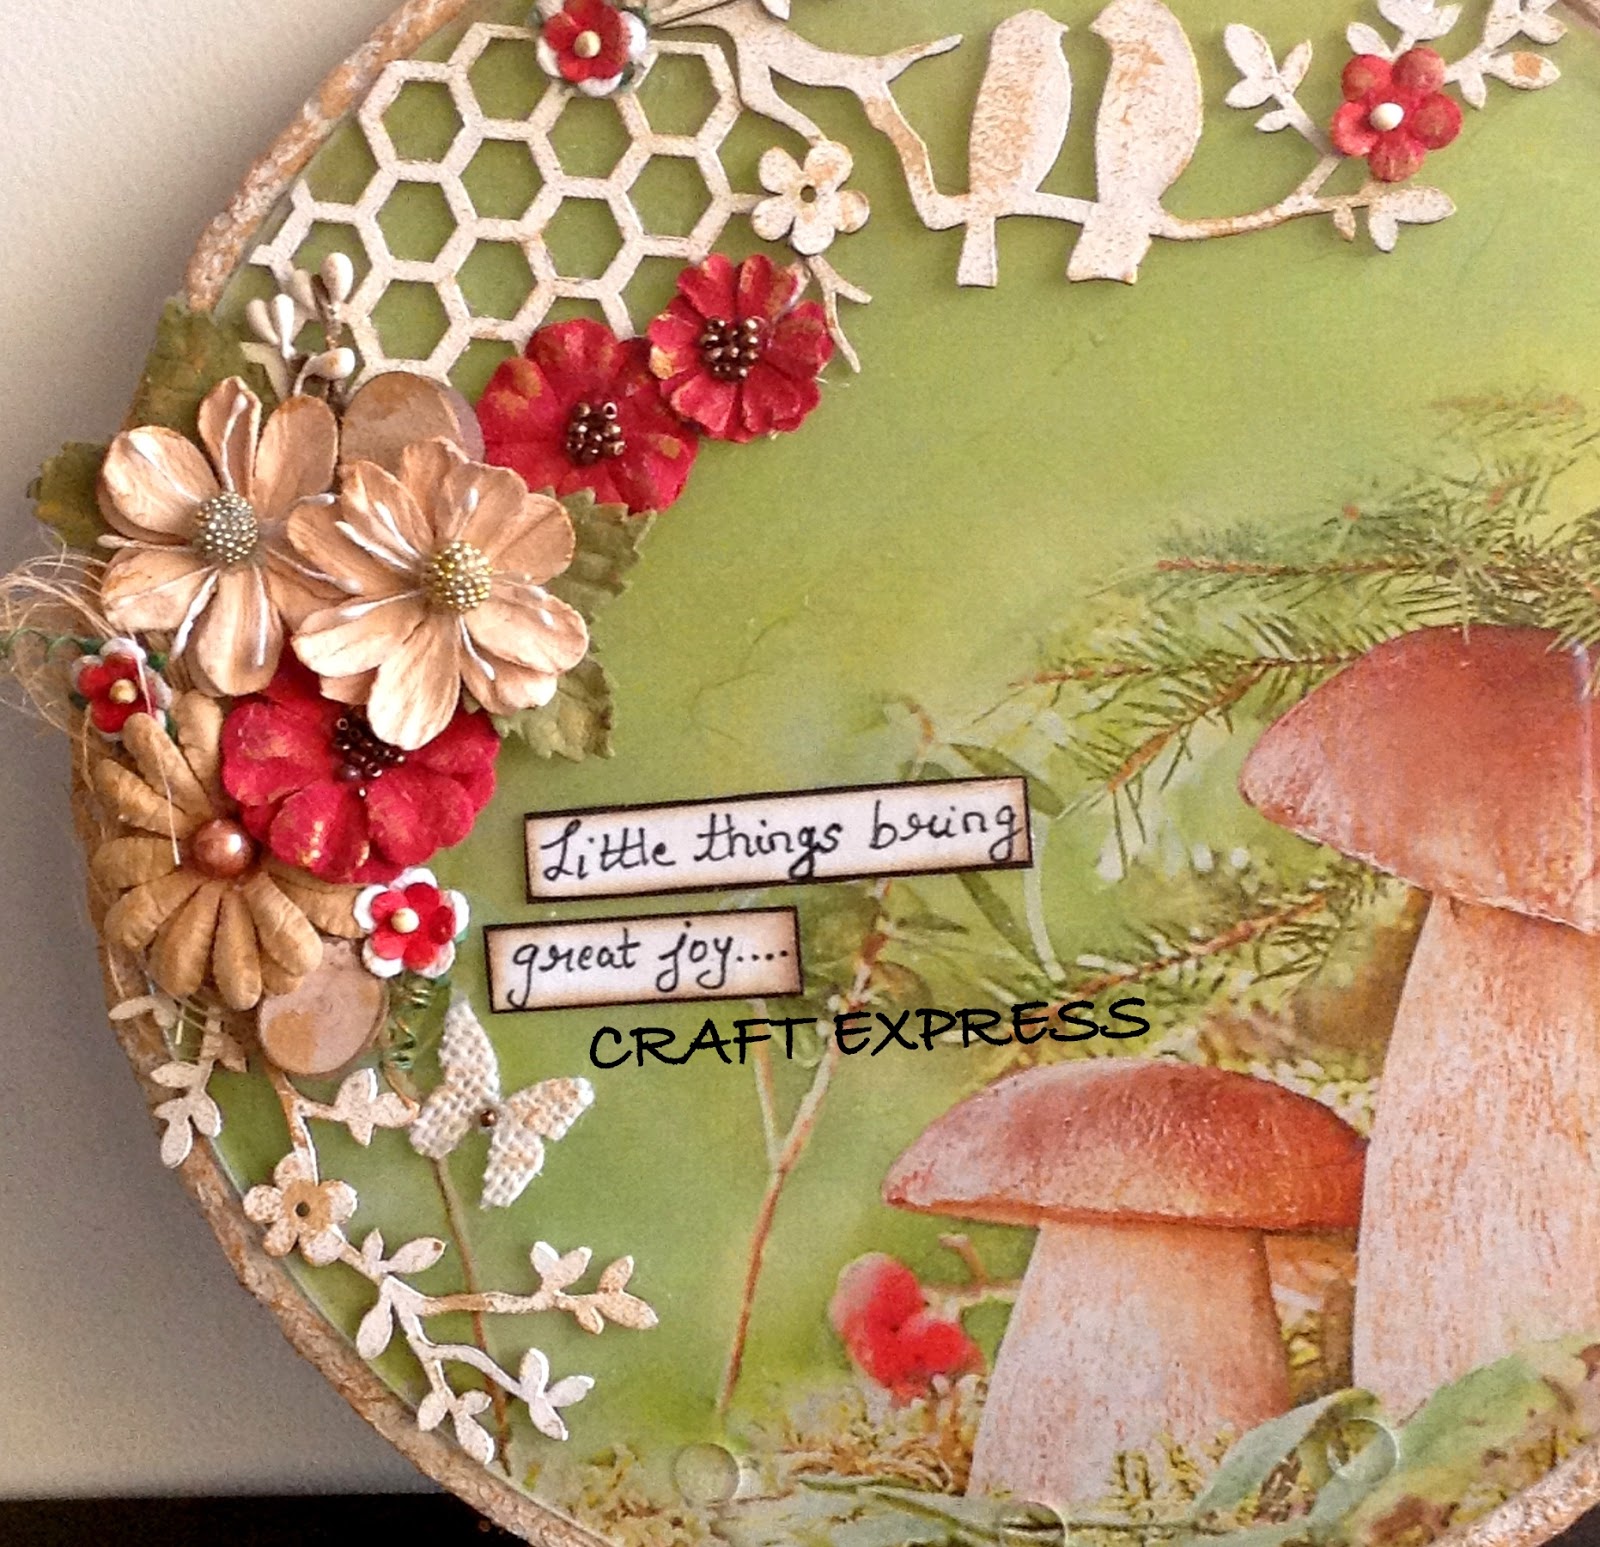
The bucket bag is made of light colour wood and the mild wood grains are seen. So, I left one side of the bag natural...the way it is and transferred an image with quote,' Enjoy the Little Things' on it. It looked printed and elegant as the natural wood is seen. Have a look.
On the other side of the bag, I have created a crackled finish using crackle paste from the store and then transferred the image on it . Its very unique to see the cracks through the transferred image. A quick procedure for this background. The white crackle paste can be applied with spatula directly or through stencils as well. Thicker layer gives bigger cracks and thinner gives smaller. The cracks are formed as the paste dries naturally. Do not speed dry with any tool.
Once the crackled background is formed, the next step is to transfer the image on it. Use an image with lighter colours.
Press well while adhering the image.
Be a little more patient while peeling the layers of paper and you will have a beautiful outcome.
Just love the way the cracks are seen through the transferred image. A closer view-
Last step was to embellish the bucket bag with chippies, twine, flowers and coconut coir as fun element. Add further depth with a little dot stamping. The bucket bag with dual look can be handy to hold some pens, pencils, brushes and is sure to enhance the desk with the clipboard desk calendar.
And this is how the two decor pieces sit together, bringing smile on my face.
Hope you liked the image transfer creations, focused on the backgrounds. There will be many more ideas for creating backgrounds for image transfer and am sure you will explore and share them.
Happy 2019 and Happy Crafting till we meet again.
Create, Express, Enjoy !!!
Vaishali K.